

No-Knead Personal Pan Pizza
Personal Pan Pizza for 2
No-fuss thin crust pizza. If you want to deep dive making pizza at home, this is not the post for you. I’ll add some resources in the tips if that’s what you’re looking for. But if you want a could-not-be-easier, no-knead pizza dough recipe with a no cook sauce that tastes great, welcome friend! This recipe will guide you through how to make 2 - 12” pan pizzas or 1 rectangular sheet pan pizza.
Note: this pizza dough needs to rise for 24 hours.
Just the Recipe | 2 Pizzas
Ingredients
3 Cups (375 grams) All-Purpose Flour or Bread Flour
3/16 tsp (or 1/8 tsp, very heaped) Active Dry Yeast
1 1/2 tsp Kosher Salt
1/4 Cup Water + 1-2 TBS as needed
Sauce - this simple, homemade recipe makes enough for 4 pizzas.
1 Can (28 oz) Cento San Marzano Peeled Tomatoes
1 tsp Kosher Salt
1 Garlic Clove, minced
Fresh basil leaves, cut into thin ribbons
Extra Virgin Olive Oil
Toppings
Whatever you’d like! (see tips for ideas)
Steps
Mix the dough, 24 hours before planning to use:
Measure the flour and add to a large glass bowl.
Add the yeast to one side, the salt to the other.
Add the water and using a wooden spoon, stir until everything is well blended. Start with the 1/4 cup of water and if the mix seems too dry, add 1 TBS of water. If still dry, add a second TBS of water.
Cover with plastic and leave at room temperature for 24 hours.
Thirty minutes before making the pizza do the following:
Drain the tomatoes through a strainer, breaking up the whole tomatoes so the juices run out. You can keep the juice to drink, use as a mixer, or use in a marinade.
Preheat the oven or grill. The oven should be at 500°-550° whereas you’ll need to be more careful with the grill. Make sure the grill is very clean so as to avoid grease fires. Typically I grill my pizza around 400°-450° and use a pre-heated pizza stone/cast iron pan.
Make the sauce:
After the juice has drained off of the tomatoes, scoop the solids into a bowl.
Using a strong wooden spoon, meat crumbler or potato masher, break the solid parts of the tomatoes down. You can blend if you want a smooth sauce, but this rustic-style sauce it quite nice and requires less dirty dishes!
Add the minced garlic, salt, fresh basil, and a generous pour of Extra Virgin Olive Oil (EVOO, about 2 TBS). Stir.
If using a pizza stone or cast iron pan, preheat them. Follow the directions for your pizza stone. For a cast iron pan, it should not need that long to heat. Start at 5 minutes, but no longer than 10.
12” Pan Pizza - Grill/Oven:
To a pre-heated 12” cast iron pan you’ve removed from the grill or oven, add a generous drizzle of olive oil. Allow it to spread evenly.
Split the dough in half and with well floured hands, carefully stretch one half of the dough as much as you can, in the air - using gravity to help you, into a "circle” with your hands. Before it starts to tear in the middle, drape into the pan. Carefully (don’t get burned!) nudge the thicker parts of the pizza dough using your hands in opposite positions. Gently stretch and nudge evenly until the dough covers the bottom of the pan. This part is messy. The dough will stick to your hands and drive you crazy. It’s ok. Be patient and gentle, nudging into a circular position. Don’t give up, if it tears, nudge the thicker parts to the hole and pinch together to close the hole. Remember it doesn’t have to be perfectly round, it is more important for the thickness to be even. You’ll get better at this each time you make it.
Once the dough is evenly spread on the bottom of the pan, add back to the hot oven or grill and cook for 3-5 minutes.
Using a spatula, turn the dough over. Immediately add a spoonful of the sauce and spread evenly. Don’t add too much or the pizza will be soggy.
Add the cheese and toppings. Drizzle lightly with EVOO.
Return to the oven, or close the grill, and cook for about 8-12 minutes until the crust is golden and the cheese is melty. If grilling, keep an eye on the heat to make sure it stays even and avoid burning the crust.
Repeat the process for the second pizza. Tip: Allow the pan to cool for a minute. If any toppings or cheese spilled onto the pan, scrape off carefully with a spatula so they don’t burn in the second pizza’s crust. Then, return the pan to heat again and start over.
Rectangular Sheet Pan Pizza:
If you’re scared of getting burned by a hot pizza stone or cast iron pan, use this method and bake the pizza in your oven.
Flour your counter or the sheet pan itself. You can divide the dough in half or make one large rectangular pizza. Scrape the dough out onto the counter and sprinkle the top with more flour. Attempt to form into a ball. Stretch and nudge using your hands in opposite directions. Start in the air, allowing gravity to help you, but then work on the counter when it gets thin in the middle to avoid tears. Don’t panic if it tears, nudge extra dough to the spot and pinch back together. Gently lift the dough onto the sheet pan if you worked on your counter.
Add a few spoons of the tomato sauce, cheese, and your toppings.
Bake for 10-15 minutes, rotating if it is not baking evenly. The pizza is done when the crust is golden and the cheese is bubbly.
Pizza stone: Follow the directions that came with your pizza stone.
Allow pizza to cool for 2-3 minutes. This part is the hardest! It will be hot and you’ll burn your mouth, so be patient. This also gives the cheese a minute to cool before slicing so it doesn’t slide off the pizza. Sprinkle with your favorite seasonings (we love coarse ground salt, fresh ground black pepper, and red pepper flakes), cut and enjoy!
Buon appetito!

When the weather is cool we make this pizza in the oven. Since the dough is quite soft, it can be easier to still divide in half and make two smaller pizzas on one baking sheet. You can, of course, also make these on a pre-heated pizza stone. Be careful when spreading the dough on the hot pizza stone to avoid burning yourself.
Kitchen Acumen Tips:
The trade off for no-knead dough is that this is too soft to use with a pizza peel. This dough is also too soft to use directly on the grill grate, which is why I love to make pan pizzas with it. When grilling pizza, take everything outside with you (dough, flour your hands, sauce, EVOO, toppings) and a towel to keep the flies/bees off the ingredients. Make sure to take a hot pad in case you need to move the pan to a cooler spot on the grill - and to remove the hot pan when the pizza is done.
What is 3/16 tsp?! Ha! Yes, I know. Sorry. You can use a very well heaped 1/8 tsp measure. Or use 1/8 tsp plus one half of 1/8 tsp to get 3/16.
Stay away from too much sauce or “wet” toppings and you’ll get a nice sturdy crust. As a rule of thumb, if the topping will take longer to cook than 10 minutes, it should be cooked in advance. Mushrooms, onions, and peppers all release water when they cook which can lead to soggy pizza dough. It’s best to cook these types of toppings (and always pre-cook raw meat) prior.
Be resourceful with toppings! Having tacos or sausage earlier in the week? Set aside some of the cooked meat to use as a pizza topping later.
Sauce: if you have a store bought version you like, use it! The no-cook method used in this recipe will make enough for 4-5 pizzas so you will have leftovers. Use sparingly to keep the pizza dough from getting soggy. You can keep in the fridge for a week or freeze for 2-3 months. Defrost before using again and strain off additional water from freezing.
Topping Ideas:
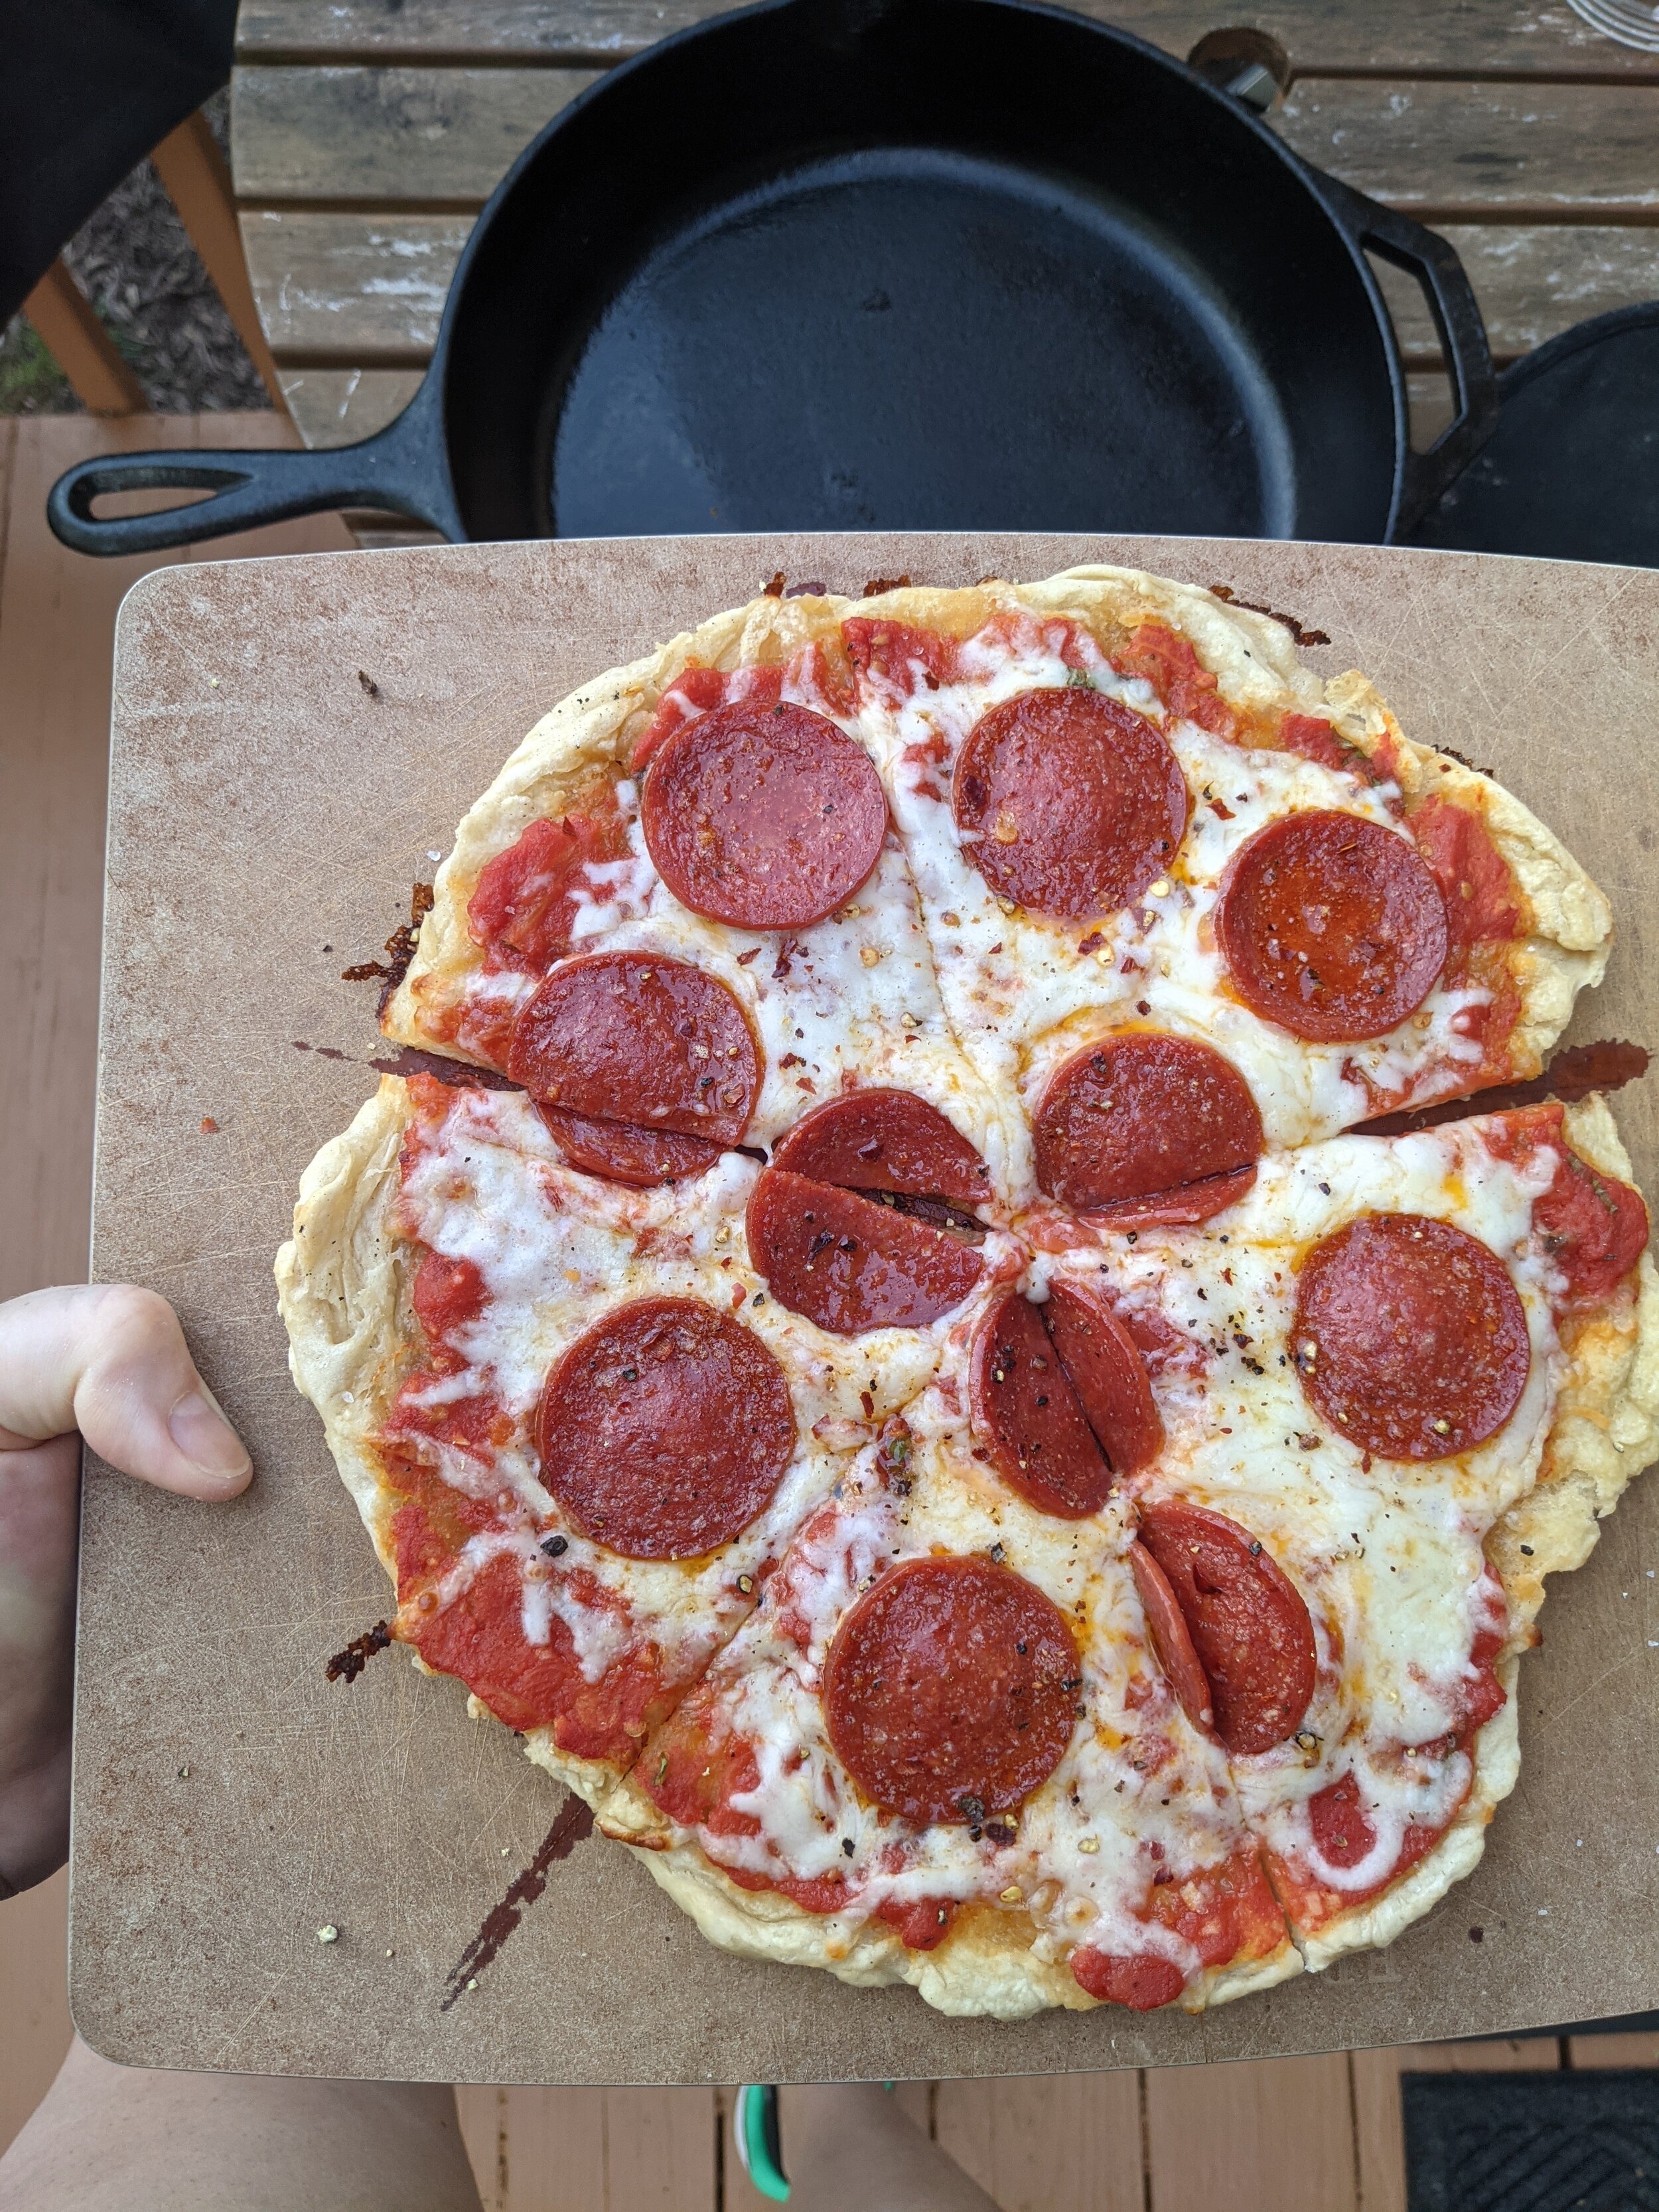
Pepperoni and shredded mozzarella
Caramelized Onions and Mushrooms (cook prior)
Fresh Mozzarella & Basil Leaves (Margherita Style) - add the basil the last minute to keep it bright green
Sausage and broccolini or broccoli rabe (cook the sausage prior)
Sliced Bell Peppers
Leftover chicken:
Rotisserie
BBQ Chicken and red onions with a drizzle of balsamic glaze
Marsala chicken and cooked mushrooms
Taco chicken, peppers, and onions with cheddar cheese
Cheesesteak Pizza: Sliced (cooked) steak with mushrooms, onions, and American cheese.
Buffalo Chicken Pizza: chopped, cooked chicken tossed in Frank’s red hot sauce, caramelized red onions, mozzarella cheese and blue cheese crumbles. Top with scallions after removing from the heat.
White Pizza: skip the red sauce and drizzle with pesto or olive oil, cheese and veggies.
Want to really get into homemade pizza? That is not my jam at all. Though, I really enjoy talking to my friends and colleagues who are really into it. I could listen to them talk about cooking temperatures, pizza peels, and flour types all day long. The chemistry of cooking is fascinating! If that’s where you want to go with homemade pizza, here are some resources to start you down that path:
Smitten Kitchen - 10 Paths to Painless Pizza Making and her Lazy Pizza Dough. The Lazy Pizza Dough is what this post is based on, and that is based on the books listed below. If you need a 12 or 6 hour version of the no-knead pizza, check this post out. Note: I’ve found the most success with overnight no-knead dough. The shorter versions work fine but tend to tear more. Also, I’m lazy and like mixing it the night before and setting the dough on cruise control.
Ken Forkish: The Elements of Pizza - this book is educational and drool-worthy
Ken Forkish: Flour Water Salt Yeast - The Fundamentals of Artisan Bread and Pizza
America’s Test Kitchen - Thin Crust Pizza (subscription required, 14 day free trial available)